 Lavkush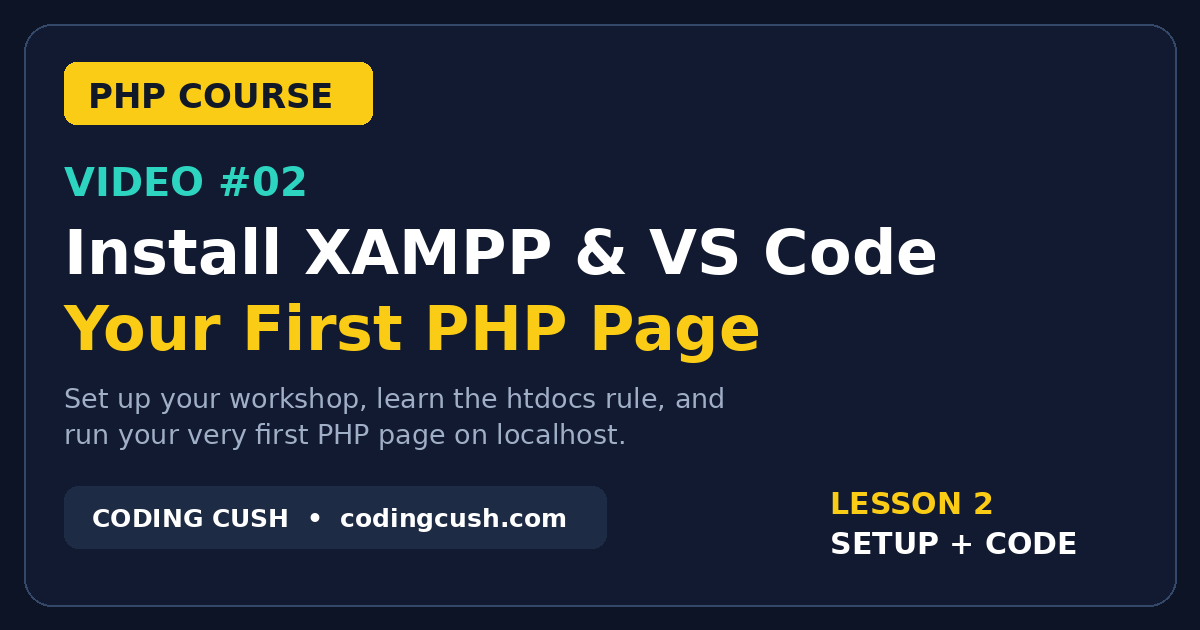
To run PHP on your own computer, you need two free tools: XAMPP, which turns your computer into a small local server, and VS Code, the editor where you will write your code. This post is the official notes page for Video 2 of the PHP & MySQL Website Development Course by Coding Cush. By the end of this lesson you will have both tools installed, you will understand the famous htdocs rule, and your very first PHP page will be running on localhost in your browser. If you have not seen the course introduction yet, start with the Video 1 notes and the full course roadmap, then come back here. The full Video 2 is at the end of this post.
What You Need Before You Start
You do not need a powerful computer or any paid software for this lesson. A normal Windows, Mac or Linux computer, an internet connection for the two downloads, and about fifteen free minutes are enough.
| Tool | What it does | Cost |
|---|---|---|
| XAMPP | Gives you Apache (the server), PHP and MySQL in one install | Free |
| VS Code | The editor where you write and edit your PHP files | Free |
| A web browser | Shows your pages at localhost, exactly like a real website | Free |
Step 1: Download and Install XAMPP
XAMPP is a single package that contains everything PHP needs to run. Open your browser and go to apachefriends.org, the official Apache Friends website, and download the version for your operating system. Run the installer, and when it asks which components to install, keep Apache, MySQL and PHP selected, because we will use all three in this course. Accept the default install folder, which is C:\xampp on Windows. When the setup finishes, you will have a new app called the XAMPP Control Panel.
Step 2: Start Apache and Meet localhost
Open the XAMPP Control Panel and click the Start button next to Apache. In a second or two the Apache row turns green and says Running. That green light means your computer is now acting as a web server. Now open your browser and type localhost in the address bar. You should see the XAMPP welcome dashboard. That page is not on the internet; it is served from your own computer, which is why localhost simply means this computer. From today, every page of our course website will open the same way.
Step 3: Install VS Code
Next, install the editor. Go to code.visualstudio.com and download Visual Studio Code, the free editor from Microsoft that we will use for the entire course. The installer needs no special settings, so you can accept the defaults. We use VS Code because it is fast, it colours PHP code so it is easy to read, and most working developers use it too.
Step 4: The htdocs Rule
Here is the golden rule of this lesson, and the one beginners break most often: PHP files must live inside the htdocs folder, or the server cannot run them. You will find htdocs inside the xampp folder, and everything Apache serves comes from inside it. Inside htdocs, create a new folder called skillnest. This is the home of the website we will build together across this whole course, named after our project, SkillNest Academy. Remember the difference: if you double-click a PHP file, the browser just shows you the raw code as text. If you open the same file through localhost, Apache runs the PHP first and the browser shows the result.
Step 5: Write Your First PHP Page
Inside the skillnest folder, create a file named exactly index.php, then open the skillnest folder in VS Code and type this code. This is the complete code from the video:
<?php
$name = "Future Developer";
$dream = "my own online shop";

echo "<h1>Hello from PHP!</h1>";
echo "<p>My name is " . $name . "</p>";
echo "<p>One day I will build " . $dream . "</p>";
echo "<p>Today is " . date("l, d F Y") . "</p>";
?>
Let us understand every part, because this tiny page uses ideas you will see in almost every PHP file:
- <?php and ?> tell the server that everything between them is PHP code, not normal text.
- $name and $dream are variables. A variable is a labelled box that stores a value, here two pieces of text.
- echo prints something to the page. Whatever echo prints is what the visitor sees.
- The dot (.) joins text and variables together into one line of output.
- date("l, d F Y") asks PHP for today's date, so the page always shows the current day, month and year automatically.
Step 6: Run It, Change It, Refresh
Make sure Apache is still running, then open your browser and go to localhost/skillnest. You should see your heading, your name line, your dream line, and today's date, all printed by PHP. The date is written nowhere in your file; PHP worked it out at the moment the page was requested. Now for the magic trick from the video: go back to VS Code, change Future Developer to your own name, save the file, and refresh the browser. The page updates instantly. This edit, save, refresh loop is how you will work in every single lesson of this course.
Bug of the Day: This Site Can't Be Reached
The most common first-day problem is the browser error This site can't be reached when you open localhost. Do not panic, and do not reinstall anything. In almost every case it is one of these three things:
- Apache is not started. Open the XAMPP Control Panel and check that Apache says Running in green.
- The file name is wrong. The file must be named exactly index.php, not index.php.txt or index.html.
- The file is in the wrong place. It must sit inside htdocs, in our skillnest folder, not on the desktop or in Documents.
Check those three in order and the page will almost always appear. This thirty-second checklist will save you hours across the course.
Your Turn #2
Now it is your turn. Put your name and your dream website into the page, run it on localhost, and comment DONE on the video with what your dream website is. In Video 3 we will read some of your answers. Later lessons go much further, and the same setup you built today is what professionals use to build things like a complete REST API in PHP.
Viva Corner: Why Do We Need a Server to Run PHP?
Here is today's viva question: why can the browser not run PHP by itself? The answer is the heart of PHP. PHP code runs on the server, never in the browser. When you request a page, Apache hands the file to PHP, PHP does the work, like calculating today's date, and then sends back pure HTML. Your browser only ever receives that finished HTML. Open View Source and you will see only HTML, never PHP code. Real websites work exactly the same way. XAMPP is simply a practice version of a real server, sitting on your own computer.
Frequently Asked Questions
Is XAMPP really free?
Yes. XAMPP is free and open source from Apache Friends, and VS Code is free from Microsoft. You do not need a credit card or a licence for anything in this lesson.
Does XAMPP work on Mac and Linux too?
Yes. XAMPP has versions for Windows, macOS and Linux, and VS Code also runs on all three. The steps in this lesson are the same, only the install folder path looks slightly different.
Why does my browser show the PHP code as text?
Because you opened the file directly from your folder. PHP only runs when the page comes through the server, so always open your pages with a localhost address in the browser, never by double-clicking the file.
Where exactly is the htdocs folder?
On Windows it is C:\xampp\htdocs. Inside it, every folder becomes a website you can open at localhost/folder-name, just like our skillnest folder.
Do I need the internet to practise PHP with XAMPP?
No. You need the internet only for the two downloads. After that, your server, your code and your practice all run completely offline on your own computer.
Watch Video #2 and What Comes Next
You now have a working PHP workshop: a running local server, a proper code editor, and a page that prints your name, your dream and today's date. In Video 3 we start the true foundations of PHP: variables, data types and echo in full detail, so the code you typed today becomes completely clear. Watch the full lesson below, do Your Turn #2, and I will see you in Video 3.
Watch Video #2 on YouTube: Install XAMPP & VS Code and Write Your First PHP Page
Leave a Comment