 Lavkush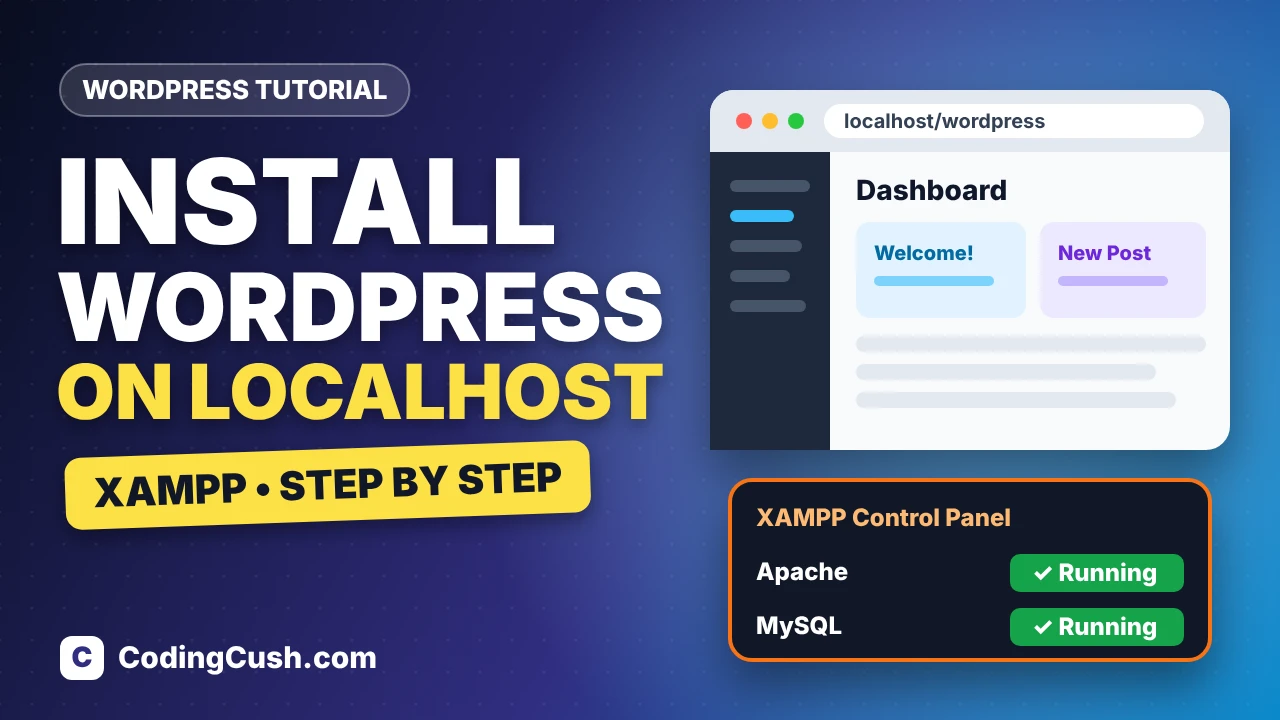
Installing WordPress on localhost means running a complete WordPress website on your own computer, using XAMPP as the local server. It costs nothing, needs no hosting and no domain, and nobody else can see the site — which makes it the safest place to learn WordPress, test themes and plugins, and practise before you touch a live website. The whole setup takes about 15 minutes: install XAMPP, download WordPress, create a database, and run the installer. This guide walks through every step in order.
What You Need Before You Start
WordPress needs three things to run: a web server (Apache), a database (MySQL or MariaDB), and PHP. XAMPP gives you all three in one free package, which is why almost every beginner starts with it. You can get it from the official Apache Friends website, the home of XAMPP, and it works on Windows, Mac and Linux.
If you have never used XAMPP before, first follow our guide to install XAMPP and VS Code and write your first PHP page — it covers the download, the installation screens, and how to check that Apache and MySQL start correctly. Once XAMPP is running, come back here; the remaining steps are WordPress-specific.
Step 1: Start Apache and MySQL
Open the XAMPP Control Panel and click Start next to Apache and then next to MySQL. Both rows should turn green and show "Running". If Apache fails to start, the usual reason is that another program (often Skype or another server) is already using port 80 — close that program and try again. To confirm everything works, open your browser and visit http://localhost. You should see the XAMPP welcome page.
Step 2: Download WordPress and Copy It to htdocs
Download the latest WordPress zip file from the official WordPress.org download page — always use this source, never a random zip from another site. Extract the zip. You will get a folder named wordpress.
Now copy that folder into XAMPP's htdocs folder. On Windows the path is usually C:\xampp\htdocs. You may rename the folder to something meaningful, like mysite, because the folder name becomes part of your local address: your site will live at http://localhost/mysite. Keeping the name wordpress gives you http://localhost/wordpress. Both are fine.
Step 3: Create a Database in phpMyAdmin
WordPress stores every post, page, setting and user in a MySQL database, so the site needs one before it can install. Open http://localhost/phpmyadmin in your browser, click Databases at the top, type a database name (for example mysite_db), and click Create. That is all — you do not need to create any tables; the WordPress installer creates them for you.
On a fresh XAMPP install, the database username is root and the password is empty (just blank). Remember these two values plus the database name — the installer asks for all three in the next step. On a real hosting account you would create a separate database user with a strong password, but for a private local site, root with no password is the normal learning setup.

Step 4: Run the WordPress Installer
Visit your site's address, for example http://localhost/mysite. WordPress notices it is not installed yet and opens the setup wizard. Pick your language, click Continue, and you will reach the database connection screen. Fill it in like this:
| Field | What to enter |
|---|---|
| Database Name | The name you created in phpMyAdmin, e.g. mysite_db |
| Username | root |
| Password | Leave it empty on a default XAMPP install |
| Database Host | localhost |
| Table Prefix | Keep wp_ |
Click Submit. If WordPress can connect, you will see the famous "Run the installation" button. If instead you get "Error establishing a database connection", re-check the database name for spelling mistakes and confirm MySQL is still running in the XAMPP panel — these two causes cover almost every case. The official WordPress installation guide on developer.wordpress.org describes this same process, including what to do on a real server.
Step 5: Site Information and Login
On the final screen, give your site a title, choose an admin username and a password, and enter your email address. On localhost the password rules are relaxed, but build the good habit anyway: pick a username that is not "admin" and a password you do not reuse elsewhere. Click Install WordPress, wait a few seconds, and click Log In.
Your login page lives at http://localhost/mysite/wp-admin. Enter your new username and password and you will land in the WordPress dashboard — the same dashboard used by millions of live websites. Bookmark the /wp-admin address; you will use it every time you work on the site.
What to Do Next on Your Local Site
Your local WordPress is a full, real WordPress. Good first experiments: go to Settings → Permalinks and choose "Post name" so your URLs look clean; install a free theme from Appearance → Themes; and write a test post to see how the editor feels. When you are ready to change a theme's design safely, our tutorial on how to create a WordPress child theme shows the right way, and a local site is exactly the place to practise it. None of this can break anything that matters — worst case, you delete the folder and database and install again in 15 minutes, which is itself a useful lesson.
One habit worth forming from day one: before you close your computer, stop Apache and MySQL from the XAMPP Control Panel instead of just closing the panel window. This frees the ports cleanly and avoids the "port already in use" surprise next time. And when you return to work tomorrow, the routine is always the same — start the two services, open http://localhost/mysite/wp-admin, log in, and continue exactly where you left off. Your posts, settings and test content stay saved in the database between sessions, just like on a real website.
Common Problems and Quick Fixes
Apache will not start. Port 80 or 443 is busy. Close other server software, or change Apache's port in the XAMPP config (Config → httpd.conf, replace 80 with 8080) and visit http://localhost:8080 instead.
"Error establishing a database connection". MySQL is stopped, or the database name, username or password in the setup screen does not match phpMyAdmin. Fix the values and try again.
The browser shows the XAMPP page instead of WordPress. You visited http://localhost without your folder name. Add it: http://localhost/mysite.
Styles look broken after renaming the folder. WordPress saved the old address. It is easier to rename the folder back, or reinstall — on localhost, a fresh install is often faster than repairing the URL.
Frequently Asked Questions
Is WordPress on localhost free?
Yes, completely. XAMPP is free, WordPress is free and open source, and the site runs on your own computer, so there are no hosting or domain charges. You only pay when you decide to put a site on the public internet.
Can other people see my localhost WordPress site?
No. A localhost site is reachable only from your own computer. That privacy is exactly why it is ideal for learning, testing plugins and building a site before launch.
What is the WordPress login page on localhost?
Add /wp-admin to your site address, for example http://localhost/mysite/wp-admin. Log in with the username and password you created during installation.
Can I move my localhost site to real hosting later?
Yes. Moving a WordPress site means copying its files and database to the host and updating the site address. Practising locally first and then moving the finished site is a very common professional workflow.
Conclusion
Installing WordPress on localhost with XAMPP is a five-step routine: start Apache and MySQL, copy WordPress into htdocs, create an empty database in phpMyAdmin, run the installer with root as the user and a blank password, and log in at /wp-admin. Once it works the first time, you can repeat it in minutes for every new practice project. Build your first site locally, experiment freely, and only go live when you are happy — that is how confident WordPress developers are made.
Leave a Comment