 Lavkush
A WordPress child theme is a small theme that inherits the design and features of another theme, called the parent theme. You create a new folder with just two files, style.css and functions.php, activate the child theme, and make all your custom changes inside it. This way, when the parent theme gets an update, your changes stay safe. In this guide, you will create a child theme step by step, even if you are a complete beginner, following the same method as the official WordPress child theme handbook.
What Is a Child Theme in Simple Words?
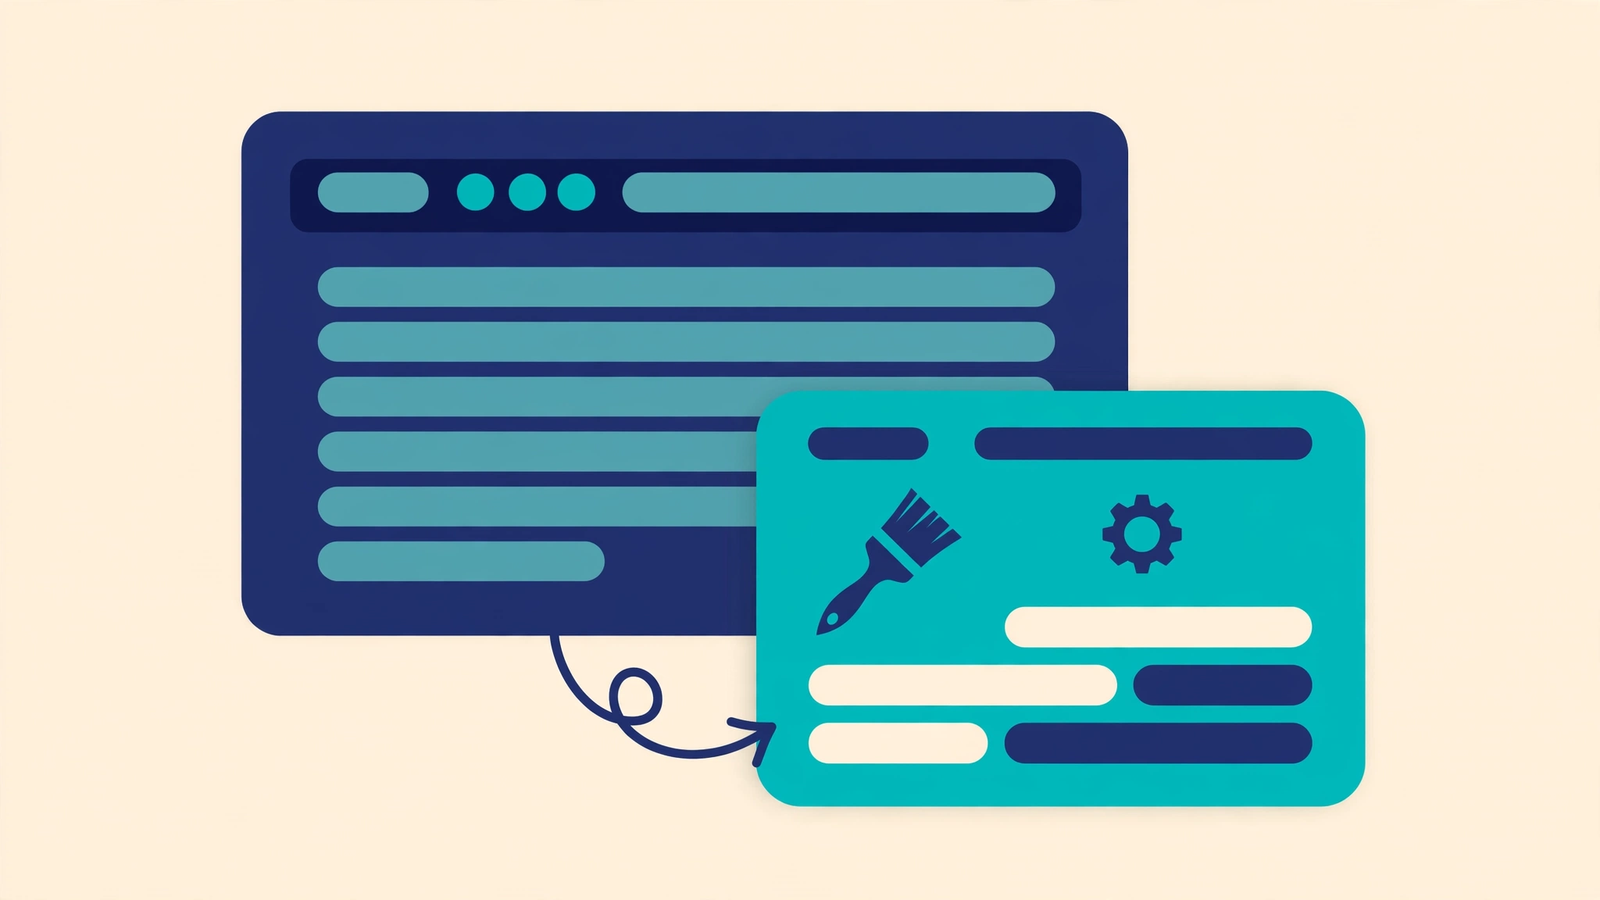
Think of the parent theme as a ready-made house. It has the rooms, the walls, and the full design already built. A child theme is like your own room inside that house. You can paint your room any colour you like and arrange your furniture your way, but the house structure stays the same.
In WordPress, the child theme uses everything from the parent theme — the layout, the colours, the templates — but it lets you override small parts. If a file exists in both themes, WordPress uses the child theme version. If a file exists only in the parent, WordPress uses that one. This simple system is what makes child themes so powerful and so safe.
Why Should You Use a Child Theme?
There are three big reasons almost every WordPress developer uses a child theme:
- Your changes survive updates. If you edit the parent theme directly and the theme updates next week, all your edits are deleted. Changes inside a child theme are never touched by parent updates.
- It is safe to experiment. If your custom code breaks something, you can simply deactivate the child theme and your site returns to normal.
- It is the fastest way to learn. You start from a complete, working design and change one small thing at a time.
If your site feels slow even with a good theme setup, also read our guide on how to speed up your WordPress website after you finish this tutorial.
What You Need Before You Start
You only need two things. First, access to your WordPress files, either through your hosting file manager or an FTP tool like FileZilla. Second, a parent theme installed on your site. In this example, our parent theme is Twenty Twenty-Four, but the same steps work with Astra, GeneratePress, OceanWP, or any other theme.
Step 1: Create the Child Theme Folder
Go to wp-content/themes/ in your WordPress files. Create a new folder there. A common naming style is the parent theme name plus -child. For Twenty Twenty-Four, the folder name becomes:
twentytwentyfour-childKeep the folder name simple, with no spaces. This folder is your child theme's home. Right now it is empty, and WordPress cannot see it yet, because a theme needs at least one file to exist.
Step 2: Create the style.css File
Inside your new folder, create a file named style.css and add this code:
/*
Theme Name:   Twenty Twenty-Four Child
Theme URI:    https://example.com
Description:  A child theme for my custom changes
Author:       Your Name
Template:     twentytwentyfour
Version:      1.0.0
*/
The most important line is Template: twentytwentyfour. This tells WordPress, "my parent theme is Twenty Twenty-Four." The value must be the exact folder name of the parent theme. If this one line is wrong, WordPress will show an error saying the parent theme is missing. Below this header, you can later add your own CSS rules, and they will load after the parent styles.
Step 3: Create functions.php to Load the Styles
Now create a second file in the same folder, named functions.php, and add this code:
<?php
add_action( 'wp_enqueue_scripts', 'my_child_theme_styles' );

function my_child_theme_styles() {
    // Load the parent theme style
    wp_enqueue_style( 'parent-style',
        get_template_directory_uri() . '/style.css' );

    // Load the child theme style after the parent
    wp_enqueue_style( 'child-style',
        get_stylesheet_uri(),
        array( 'parent-style' ) );
}
This small function does an important job. WordPress uses hooks like wp_enqueue_scripts to load files at the right time. If hooks are new for you, our guide on the difference between action hooks and filter hooks explains them with simple examples. The child style loads after the parent style, so your CSS rules can override the parent rules.
Step 4: Activate the Child Theme
Go to your WordPress dashboard, open Appearance → Themes, and you will see your new child theme in the list. Click Activate. Now visit your website. It should look exactly the same as before, because the child theme has no changes yet. That is perfect — it means everything is connected correctly.
Step 5: Add Your Own Custom Changes
Now the fun part. You can add custom CSS at the end of your child theme's style.css file. For example, to change the colour of all buttons on your site:
/* My custom changes */
button, .wp-block-button__link {
    background-color: #0f766e;
    border-radius: 8px;
}
You can also copy any template file from the parent theme folder into your child theme folder and edit the copy. For example, copy header.php, make your change, and WordPress will use your version. The parent file stays untouched and safe.
Common Mistakes Beginners Make
- Wrong Template name. The Template line must match the parent theme's folder name exactly, including spelling.
- Editing the parent theme. The moment you edit parent files directly, you lose the main benefit of a child theme.
- Forgetting to activate. Creating the files is not enough — the child theme must be the active theme.
- Deleting the parent theme. A child theme cannot work alone. The parent must always stay installed.
Frequently Asked Questions
Does a child theme slow down my website?
No. A child theme only adds one small extra stylesheet. The speed difference is so small that no visitor can feel it.
Can I create a child theme with a plugin instead?
Yes. Plugins like Child Theme Configurator can generate the files for you. The manual method in this guide is still better for learning, because you understand exactly what the plugin creates.
Will a child theme work with any parent theme?
Yes, child themes work with almost every WordPress theme, free or premium. Only a few special themes with unusual structures need extra steps.
What happens if I delete the child theme?
Nothing bad. Simply activate the parent theme again and your site returns to the original design. Only your custom changes will disappear.
Conclusion
A child theme is the safe and professional way to customise any WordPress website. For everything beyond this guide, the WordPress developer documentation is the official reference. You now know how to create the folder, write style.css, load the styles with functions.php, activate the theme, and add your own changes. Create your first child theme today, and from now on, theme updates will never scare you again.



Leave a Comment