Figma to Webflow: Official Plugin, Step by Step
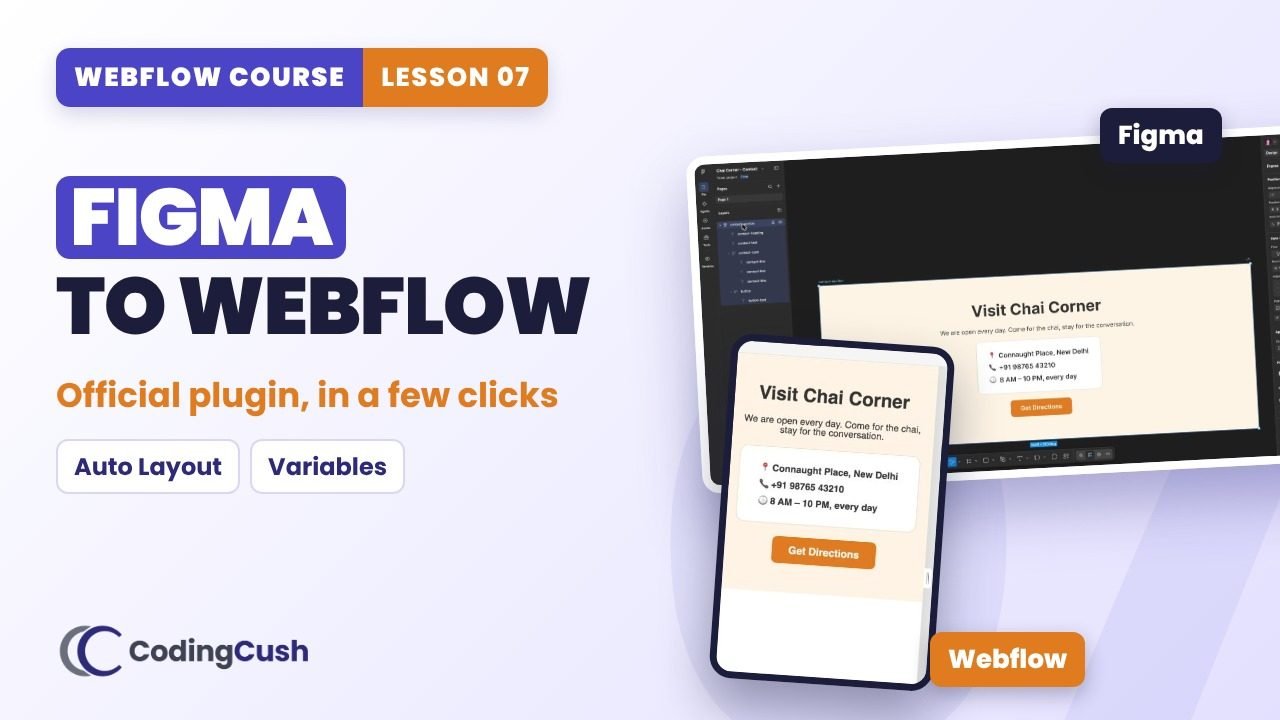
Prepare a Figma file (Auto Layout, layer names, variables), sync with the official plugin, import into Webflow, clean up and make it responsive.
💡Key ideas
Prepare a Figma file (Auto Layout, layer names, variables), sync with the official plugin, import into Webflow, clean up and make it responsive.
Two ways
Manual rebuild gives full control but takes time. The official Figma to Webflow plugin copies layout, styles and colours for you.
Auto Layout → Flexbox
Auto Layout in Figma becomes Flexbox in Webflow, so direction, gap and padding come across.
Layer names → class names
A layer called contact card becomes a class called contact card. Name every layer clearly.
Variables → Variables
Save colours as Figma variables; after sync they appear in Webflow's Variables panel for the whole site.
⏱️Chapters
Click a chapter to jump to that moment in the video.
📋Step-by-step
Tick each step as you build it in your own site. Your ticks are saved.
In Figma
In Webflow
⚙️What maps to what
| Figma | Webflow |
|---|---|
| Auto Layout | Flexbox (direction, gap, padding) |
| Layer name | Class name |
| Colour variable | Site variable |
| Frame | Section / div |
| Text layer | Text block or paragraph (set the Heading tag yourself) |
⚠️Common mistakes
🧠Recap & quiz
First the recap question from the video, then the quiz. Your best score is saved.
Recap: Why does Auto Layout matter so much in Figma?
Q1 of 4 · In Figma you name a layer 'contact card'. After import it becomes…
Q2 of 4 · Auto Layout in Figma becomes what in Webflow?
Q3 of 4 · Your imported text uses the wrong font. Fix?
Q4 of 4 · Which should you import first?
🏠Homework
Do this on your own site before the next lesson.
❓FAQ & key terms
Is the Figma to Webflow plugin free?
Yes, it is the official plugin made by Webflow.
Do Figma colours import?
Yes, when saved as variables and synced.
Should I always use the plugin?
Use it for clean, Auto Layout designs. For a rough mock-up, rebuilding by hand can be faster.
Lesson 07 of 11 · All cheat sheets · Watch on YouTube
Save your progress
Enter your name and email once. We'll remember your ticked steps, quiz scores and completed lessons, so you can continue on any device.
No spam. Only course updates, and you can unsubscribe any time.