

 Lavkush
You learn Webflow best by following a simple order. First understand how boxes, spacing and styles work on a web page. Then learn the Designer interface, build and copy simple pages, make them work on mobile, add interactions, and finally connect a CMS and publish a real site. Most beginners who practise a little each day can build a clean portfolio site in four to six weeks, without writing code at the start.
Why Webflow Feels Different at First
Webflow is not a drag and drop toy where you throw pictures on a page and hope for the best. It is a visual way of writing proper HTML and CSS. When you move a slider for margin, Webflow writes the same CSS a developer would write by hand. That is why the tool can feel confusing in week one and powerful in week three. Once the idea clicks, you stop fighting the interface and start thinking like a designer.
If the whole idea is new to you, read a plain explanation first. Our guide on what Webflow is and how it works explains the platform in simple words, so the roadmap below will make much more sense.
Stage 1: Learn the Box Model and Basic CSS Ideas
Every element on a web page is a box. A heading is a box, an image is a box, and a button is a box wearing a nice colour. Each box has content in the middle, padding inside, a border, and margin outside. When you understand this one idea, half of Webflow stops being a mystery. Spacing problems are almost always box problems in disguise.
Next, learn three layout ideas. Block elements stack one below another, like paragraphs. Flexbox lines items up in a row or a column and controls how they spread out. Grid places items in rows and columns at the same time, which is perfect for card layouts. You do not need to memorise code for these. Just understand what each one does, because Webflow gives you buttons for exactly these ideas. Classes matter too. A class is a reusable style, so changing it once updates every element that shares it.
Stage 2: Get Comfortable in the Designer
The Designer is where you will spend most of your time, so learn its main parts properly. On the left you add elements and find your pages. On the right sits the Style panel, where you control size, spacing, typography, colour and layout. At the top you switch between desktop, tablet and mobile views. It looks busy at first, a bit like the cockpit of a small plane, but you will use the same few controls again and again.
The Navigator deserves special attention. It shows the structure of your page as a tree, so you can see which box sits inside which other box. When a layout looks wrong, the Navigator usually shows you why in seconds. Learn to select elements from the Navigator instead of clicking randomly on the canvas.
Stage 3: Build, Clone and Copy Simple Pages
Start building with simple sections: a hero, a features row, a testimonial, then a footer. Each section teaches one or two new skills.
Cloning is your shortcut to learning. Webflow has many free cloneable projects made by other designers. Clone one, open the Navigator, and study how it was built. Change colours, swap text and move sections around. Taking a good design apart teaches you more than ten tutorials watched at double speed.
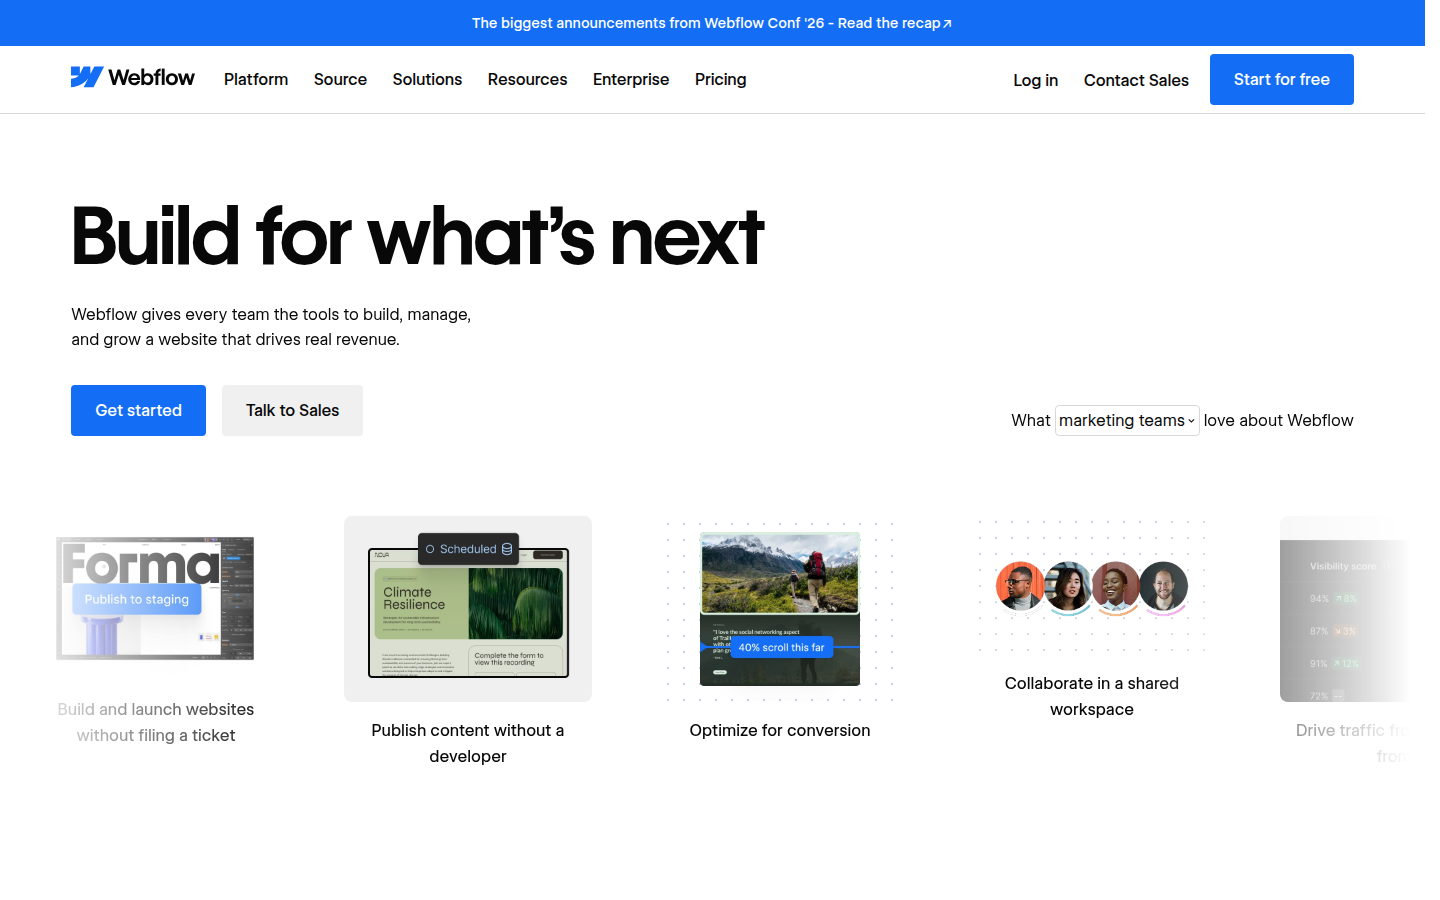
The best free teacher is Webflow itself. The lessons at Webflow University are short, clear and often funny, and they cover everything from your first section to advanced CMS work. Work through the beginner courses in order. Also explore the main Webflow website to see what the platform offers as you grow, including hosting, CMS and e-commerce features.
Stage 4: Responsive Design and Interactions
A site that only looks good on your laptop is only half finished. In Webflow, styles set on desktop flow down to tablet and mobile, so you design from large to small and adjust at each breakpoint. Check your text sizes, stack your columns, and make sure buttons are easy to tap. Test every page on the mobile view before you call it done. Most of your visitors will arrive on phones, so be kind to them.
Once your layouts are solid, add interactions. Start small. A gentle fade in on scroll, a hover effect on a button, or a menu that slides in smoothly. Webflow interactions are powerful, but a little goes a long way. If every element is spinning and bouncing, visitors feel seasick rather than impressed. Choose one or two tasteful effects per page and keep them consistent.
When you are ready for a full build, our step by step guide on how to build a website in Webflow walks through a complete site, which makes a great model for your first serious project.
Stage 5: CMS Collections and Publishing
The CMS is where Webflow becomes a real website system, not just a page builder. A Collection is like a small database. You might have a Collection for blog posts, with fields for title, image, summary and full text. You design one template page, and Webflow creates a page for every item automatically. Add ten posts or a hundred posts, the design stays consistent.
Practise by building a simple blog. Create the Collection, add five sample posts, design the template, and add a Collection List on the home page showing the latest three. This single project teaches you fields, filtering, sorting and dynamic text, which are the skills clients ask for most often.
Your Roadmap at a Glance
| Stage | What to Learn | Practice Task |
|---|---|---|
| 1. Foundations | Box model, flexbox, grid, classes | Recreate a simple card layout |
| 2. The Designer | Navigator, Style panel, breakpoints | Build a neat hero section |
| 3. Building Pages | Sections, cloning, components | Clone and restyle a free project |
| 4. Responsive and Motion | Mobile layouts, simple interactions | Make a landing page work on all sizes |
| 5. CMS and Publishing | Collections, templates, domains | Publish a blog with five posts |
Three practice projects will take you a long way: a personal portfolio, a landing page for a made up product, and a blog powered by the CMS. Finish all three and you are no longer a beginner.
Common Beginner Mistakes to Avoid
The most famous mistake is div soup. That means adding box inside box inside box with no plan, until the Navigator looks like a family tree nobody understands. Plan your structure first. Most sections need only a section, a container and the content inside.
The second mistake is styling without classes, then wondering why nothing stays consistent. The third is ignoring mobile until the very end, when fixing it means redoing half the page. Check the smaller breakpoints as you build. The fourth is copying a fancy interaction without understanding it, then being unable to change it. Learn each effect step by step, and your future self will thank you.
A Realistic Timeline and Your Next Steps
Here is an honest timeline. Week one, foundations and the Designer. Week two, building and cloning sections. Week three, responsive design and simple interactions. Week four, the CMS and your blog project. Weeks five and six, your portfolio and polish.
From there, freelance and client work becomes realistic. Local businesses need simple, fast sites they can update themselves, and Webflow is perfect for that. Start with one small project, deliver it well, and let referrals bring better work.
Frequently Asked Questions
Do I need to know coding to learn Webflow?
No, you can start with no code at all. A little understanding of HTML and CSS ideas, especially the box model and classes, makes learning much faster, but you learn those ideas visually inside Webflow itself.
How long does it take to learn Webflow?
With regular daily practice, most beginners build a good simple site in four to six weeks. Becoming fast and confident with CMS and interactions usually takes two to three months of project work.
Is Webflow free to learn?
Yes. You can start on a free plan and learn with Webflow University lessons at no cost. You mainly pay when you need site hosting with a custom domain or advanced features for client work.
Can Webflow lead to freelance work?
Yes, many freelancers earn from Webflow sites for small businesses and startups. Finish a portfolio, a landing page and a CMS blog first, so clients can see proof of your skills before they hire you.
Conclusion
Learning Webflow is not about mastering every button in a weekend. It is about following the right order. Understand boxes and classes, learn the Designer, build and clone small pages, design for mobile, add tasteful interactions, and finish with the CMS and publishing. Do that, project by project, and you will soon have skills that real clients happily pay for.


Leave a Comment